There are two places in Connect where you can create exercises:
From the teacher interface when in a session, and in the Session dashboard where you create the sessions.

The above image shows the teacher interface when you are in a session as a teacher.
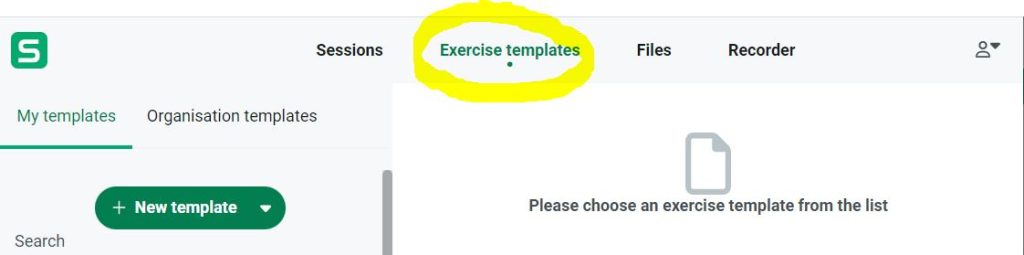
Creating the exercises works in the same way in both places, the only difference is that in the Session dashboard, the exercises you create are exercise templates, which you can assign to any session and reuse as many times as you want. You can also share these templates with other teachers in your institution. However, any of the exercises you create from the teacher interface within a session can also be saved as templates with the click of a button.
Creating exercises
Begin by navigating over to Exercises in your teacher interface and click on +New Exercise
Give the exercise a name, and click on the ‘+’ sign under the editor as highlighted below:
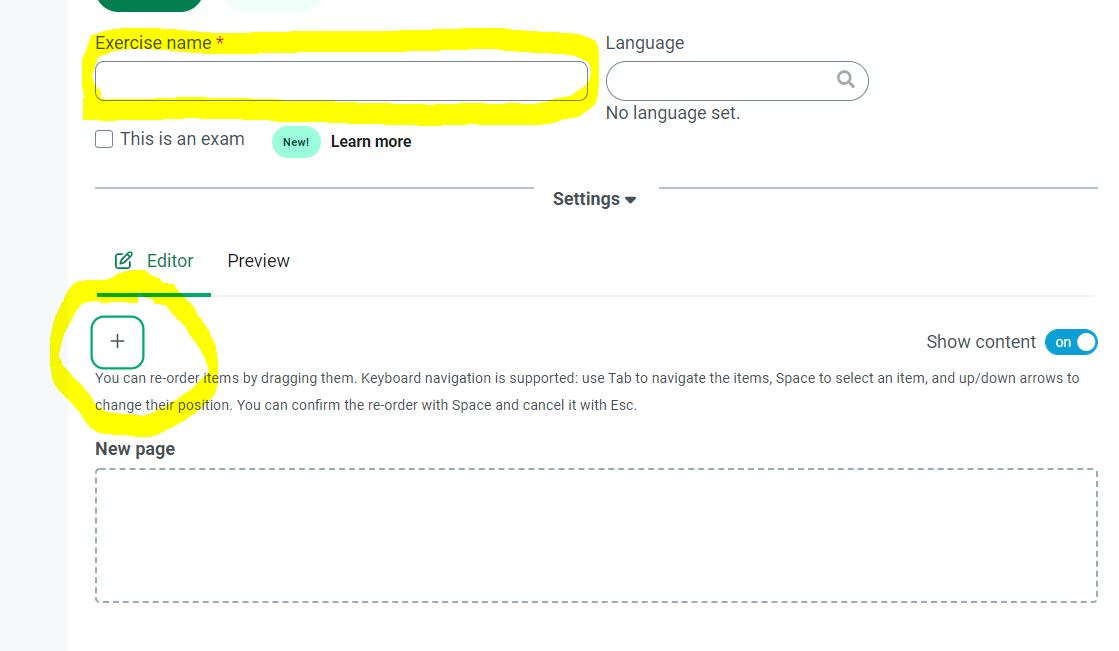
This opens up the exercise editor. You can use the editor to add different parts to your exercise by clicking on them. You can change the order of the parts at any point.
Exercise editor
The exercise editor looks like this:

CONTENT parts
Text – allows you to add text to the exercise. This can be e.g. instructions, prompts, chapters from a book and so on. The editor also supports images.
Record Audio – allows you to record audio by using your microphone. You can use this part for audio-based prompts, example phrases and so on.
File – allows you to include files within an exercise. For example, you could include images, pdfs, presentations and so forth, anything that is relevant to the exercise.
Embed content – This is a more advanced feature. It can be used to include content from other websites that generate embed codes – like Google Maps for example.
Youtube embed – This part allows you to embed Youtube-videos within your exercises. Vimeo and Daily motion are also supported.
Webpage embed – This part allows you to embed an entire web page within the exercise. Note that some websites don’t allow embedding, so it’s a good idea to check if the embedded page is displayed properly before sharing the exercise with your students.
TASKS parts
Recorders
There are two different recorders in Connect, Simple and Advanced. The difference between them is explained below. This how they look like when used in an exercise:

Simple recorder – This part adds a recorder to your exercise. By default, it will record the individual student working on the exercise. However, there is a setting at the bottom of the Simple recorder which will record all incoming audio streams as well:
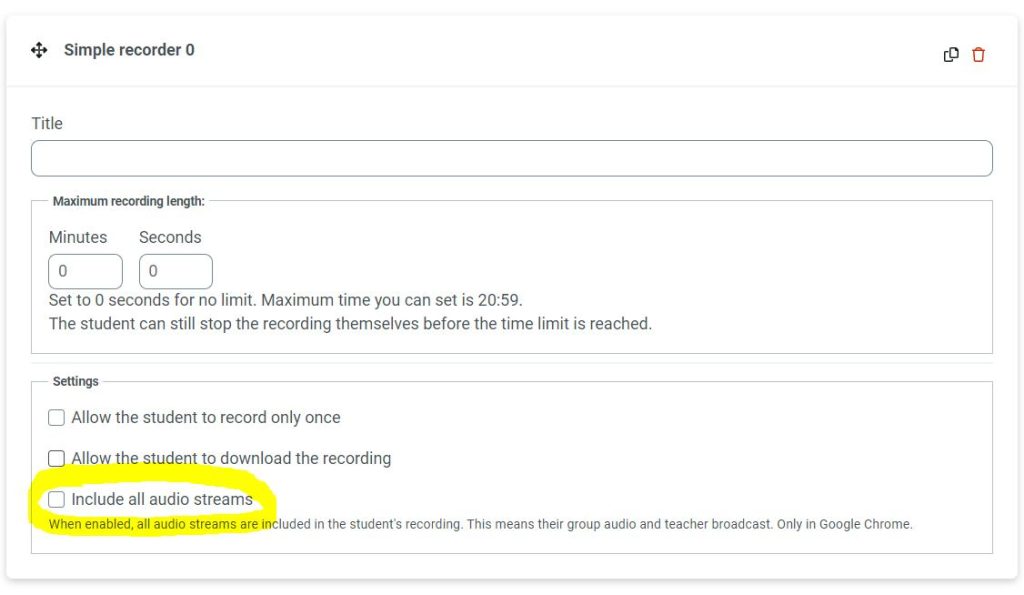
If “Include all audio streams” selection is made, everything the student hears through Connect is recorded as well. This can mean their pair/group, the teachers voice, audio streamed by the teacher etc.
Advanced recorder – This part is a two-track recorder. This means that there’s an assignable master track, and another track for recording student audio. You can use audio and .mp4 video files as the master track. You can also easily record yourself as the master track by clicking on the record button:
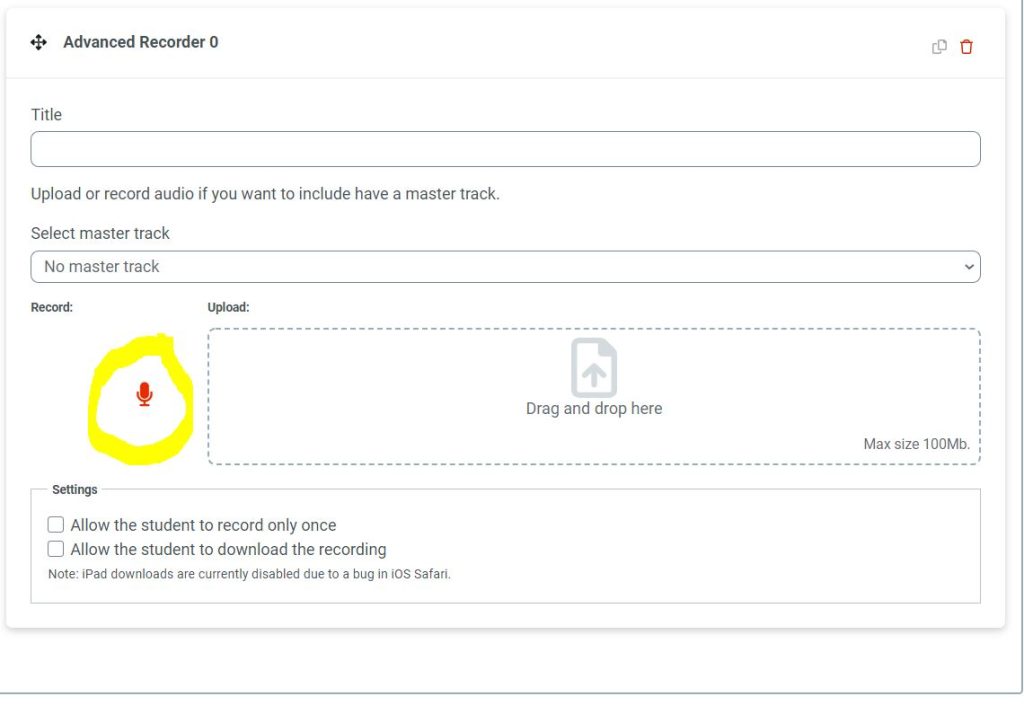
Recording yourself is a quick and convenient way to create ‘Repeat after me’ exercises for self study. Simply click on record, read your list of words or sentences and the recording is automatically assigned as the master track.
File upload – This part allows your students to upload files which are included when they submit the exercise. For example, a Word document essay, their presentation etc.
Writing space – This part allows your students to write long form answers. These are answers are not automatically graded.
Multiple choice – This part allows you to create multiple choice questions. They are automatically graded after students submit the answers back to you.
Q&A – This part allows you to create questions with a definitive correct answer. These are also automatically graded when students submit the answers back to you.
Gapfill – This part allows you to create gapfill / fill in the blanks type of exercises. Simply copy and paste text in, highlight a section and click on ‘Gap’ to create the gaps.
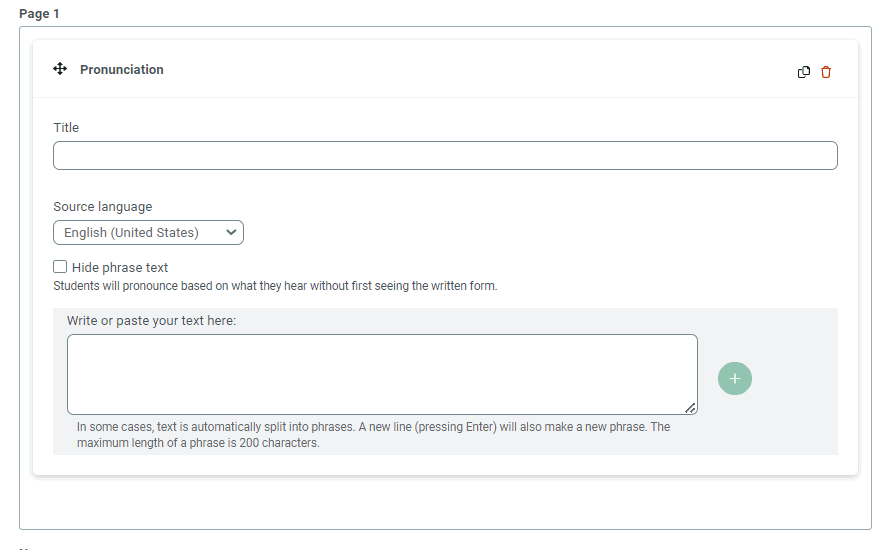
Pronounce – This part allows you to create automatically graded pronunciation tasks for. The text-to-speech engine in Connect will automatically generate spoken audio in the selected language from the words or sentences you paste into the the text field.
All you have to do is to choose the source language from the dropdown menu, paste your words and sentences in and click on the green plus-button.
NOTE: Generating the synthesized speech takes a few minutes. To make sure your students won’t have to wait for the audio to be ready, wait a few minutes before sharing the exercise.
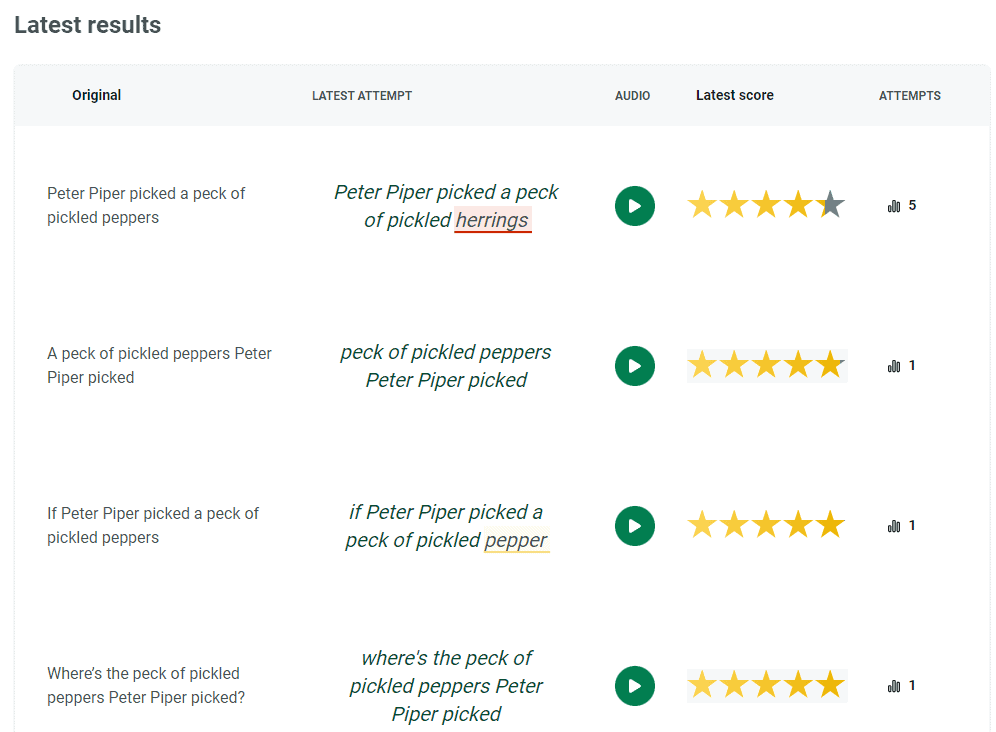
When your students complete the exercise, this part will look like the image below:
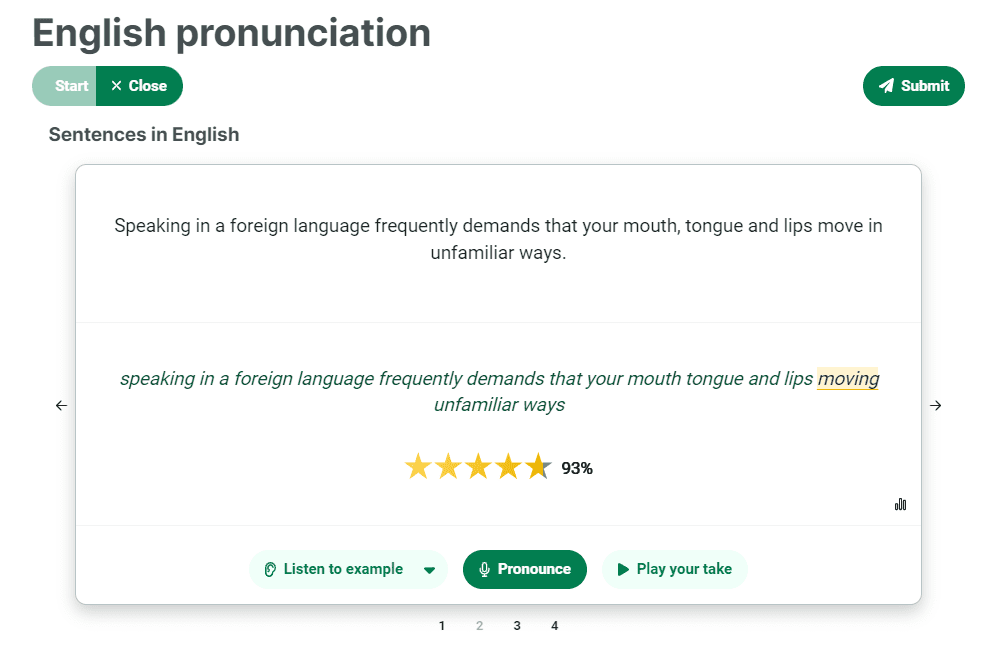
When your students complete and submit an exercise with the Pronounce task included, you will see the score they’ve received, can listen to their final recordings and can see how many times they’ve tried each item.
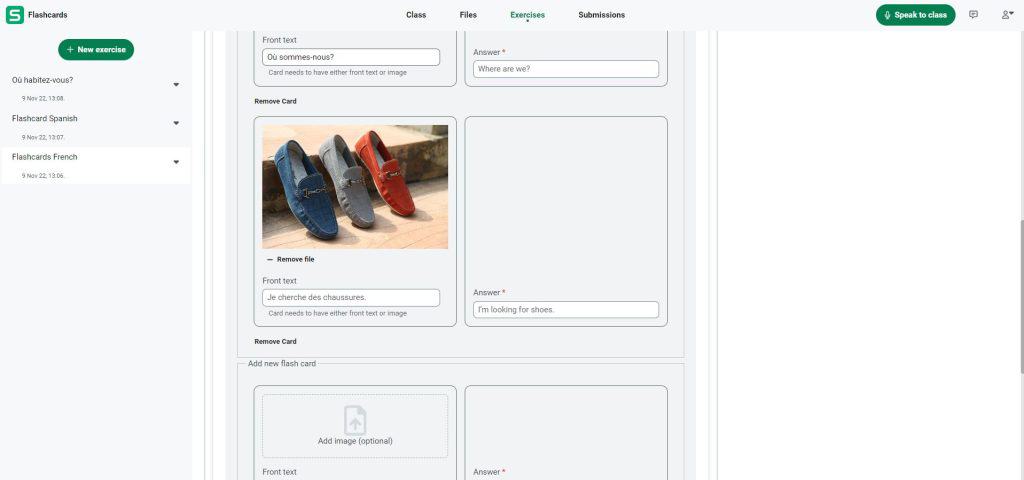
Flashcards – This part allows you to create flashcard decks for your students. To add cards to your deck, simply click populate the text fields and choose if you want to add images to the cards.
Automatic exercise creation – Import Content
Connect includes a convenient way to quickly and automatically create exercises for you.
Simply upload a .csv or xlsx file and choose which types of exercise you want to have automatically created for you. Currently supported exercise types for automatic creation are Flashcards, Q&A and Pronunciation.
Click on the ‘Import content’ button above the Editor to begin. The functionality will guide you through the next steps.
To make the most out of this feature, use a file that has two columns: One for the source language, and one for the target.

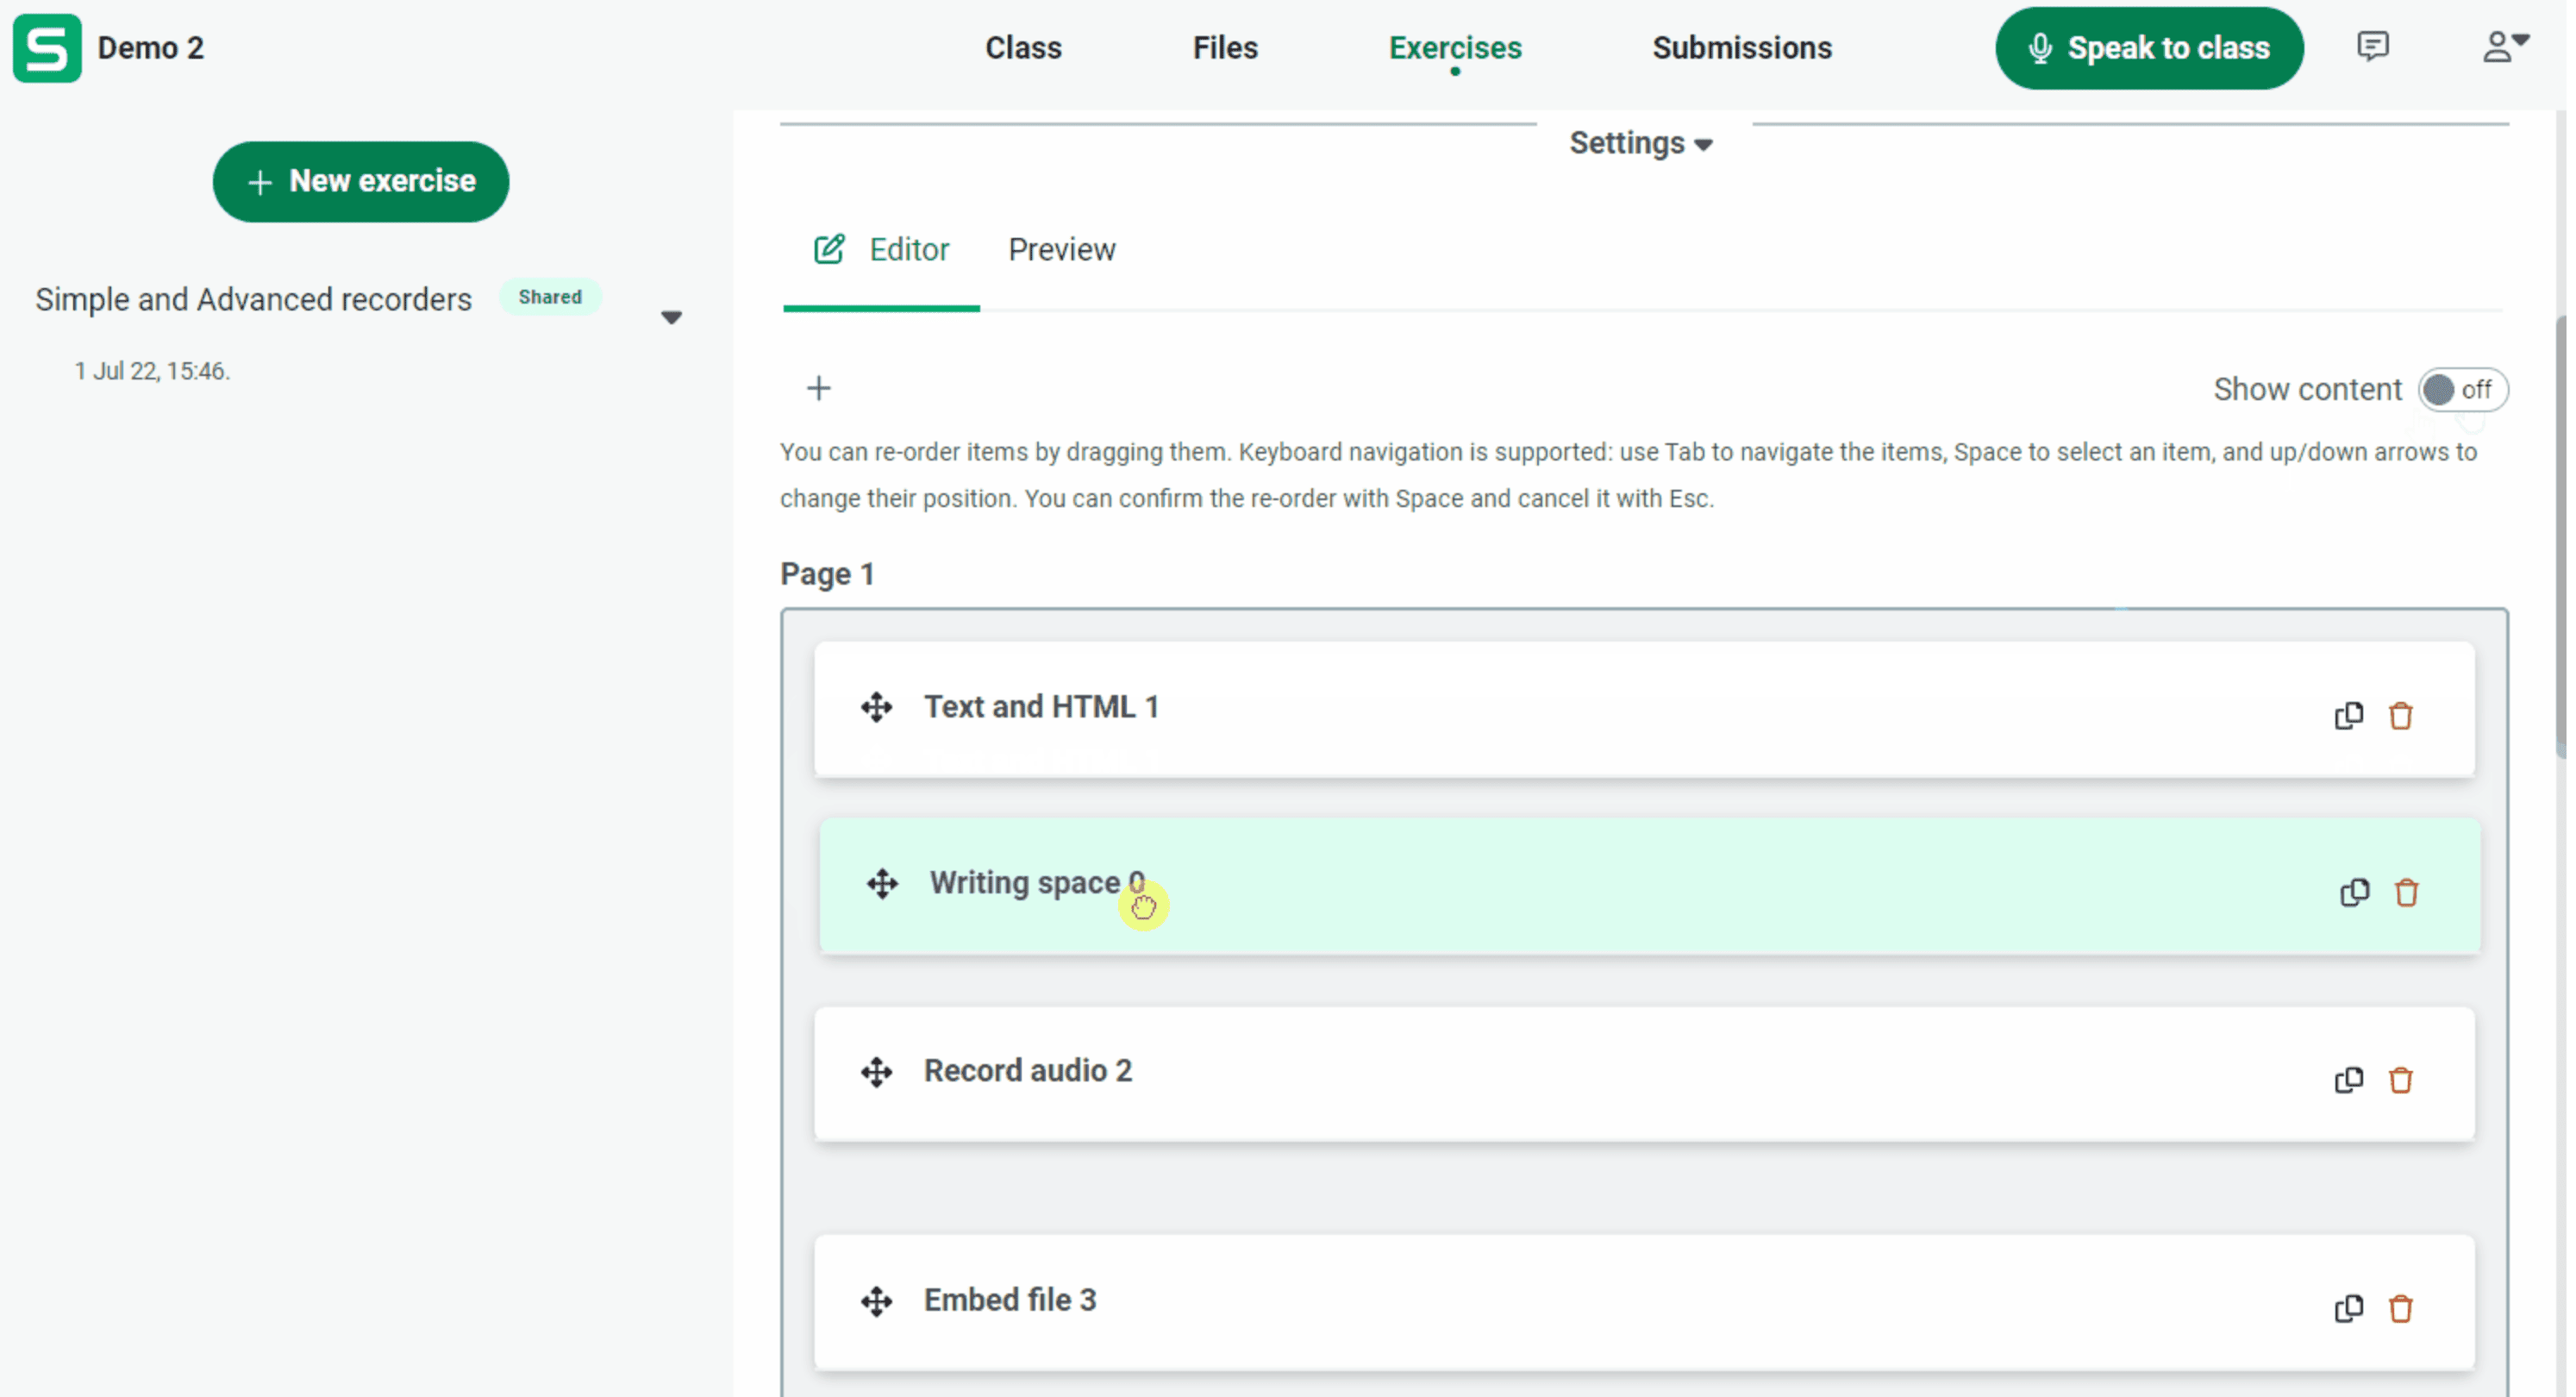
Changing the order of parts within an exercise
You can simply drag and drop the parts to any order you wish within an exercise. The easiest way to do this is to first click on Show content to collapse the parts, like below:
Dividing an exercise into different pages
To create separate pages within an exercise, drag the parts over to the New page area. This feature divides an exercise into different pages instead of listing all of the content in one scroll-down page.
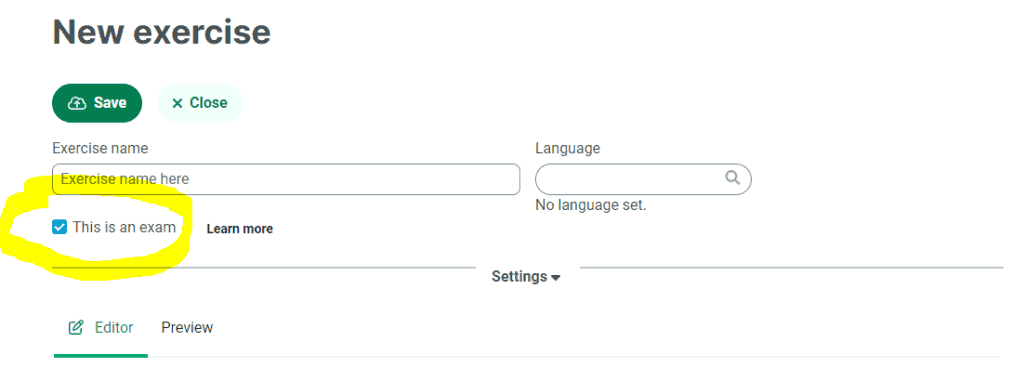
Exam mode
Exercises can be set to be run in Exam mode which disables all menu navigation options for students within Connect and have additional features such as automated collecting at the end of the exam.
An exam has these differences with a regular exercise:
- The student will only see the exam content after they have begun
- Once started, the exam cannot be closed – only submitted. Additionally, the exercise list sidebar will close and no other exercise can be viewed during the exam.
- At the end of the exam, the exam is automatically submitted back to the teacher for review.
- If the exam is divided into multiple pages, students can’t navigate back to the previous page.
To set an exercise to be run in Exam mode, choose the option highlighted below:
Importing .MFF files
To import your existing Sanako .mff files into Connect, navigate over to the session creation view and click on Exercise templates. From there, click on the arrow next to the + New template button and choose import .mmf. You can then select if the exercise is imported as one exercise, or divided into smaller parts. Click on Import MFF to add the imported exercise(s) to your templates.

Video recording facility
You can further enrich your exercises by recording videos with your webcam. You can also included your screen in these videos.
You can find this feature under the Files tab, both in the Session dashboard and within sessions.
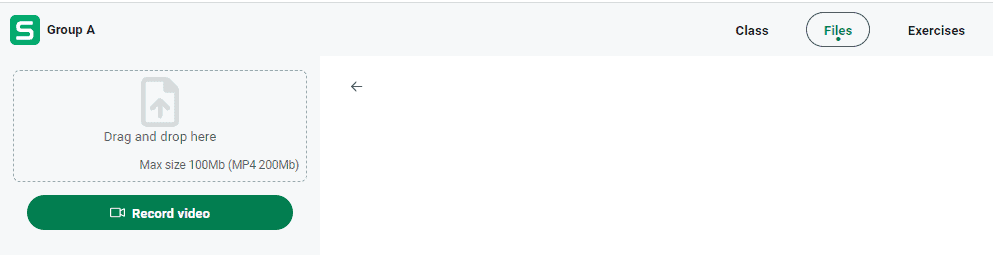
To begin, click on Record video. You will then see the screen below, where you can start the recording and also enable screen sharing if you wish to do so.
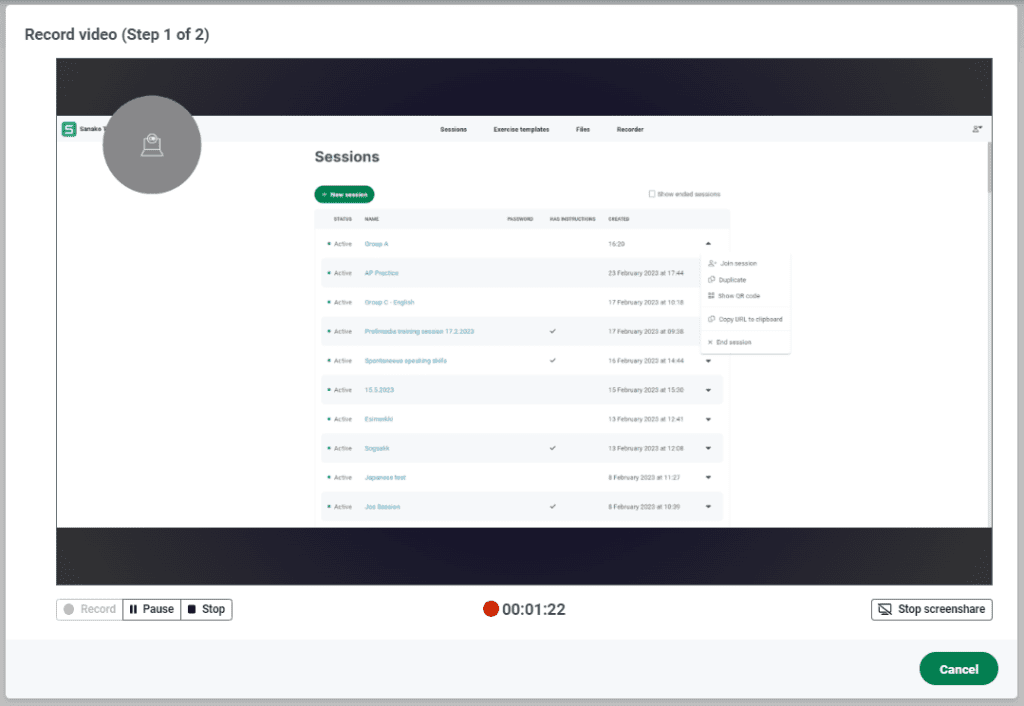
When you click on Stop, the system will ask for a name for the video, and then convert it. Note that the conversion might take some time. This is done to ensure compatibility between different devices.
Once the file has been recorded and converted, you can use it with your exercises just like any other file. For example, as a master track for the Advanced Recorder.