There are two ways to create pairs and groups in Connect: Split-functionality and manual creation.
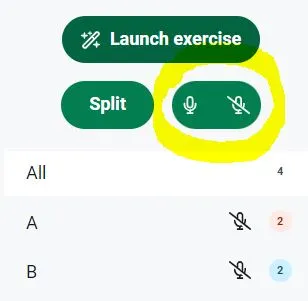
Note: By default, the audio and video options between the groups are not enabled. To enable and disable these options, use the buttons below:
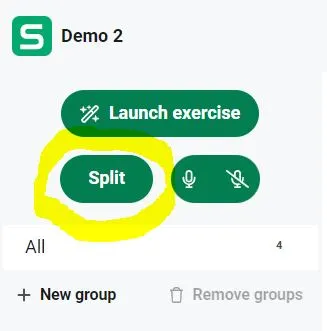
Using the Split-functionality
The easiest way to create pairs or groups is using the Split functionality. You will find it on the left-hand side of the teacher interface.
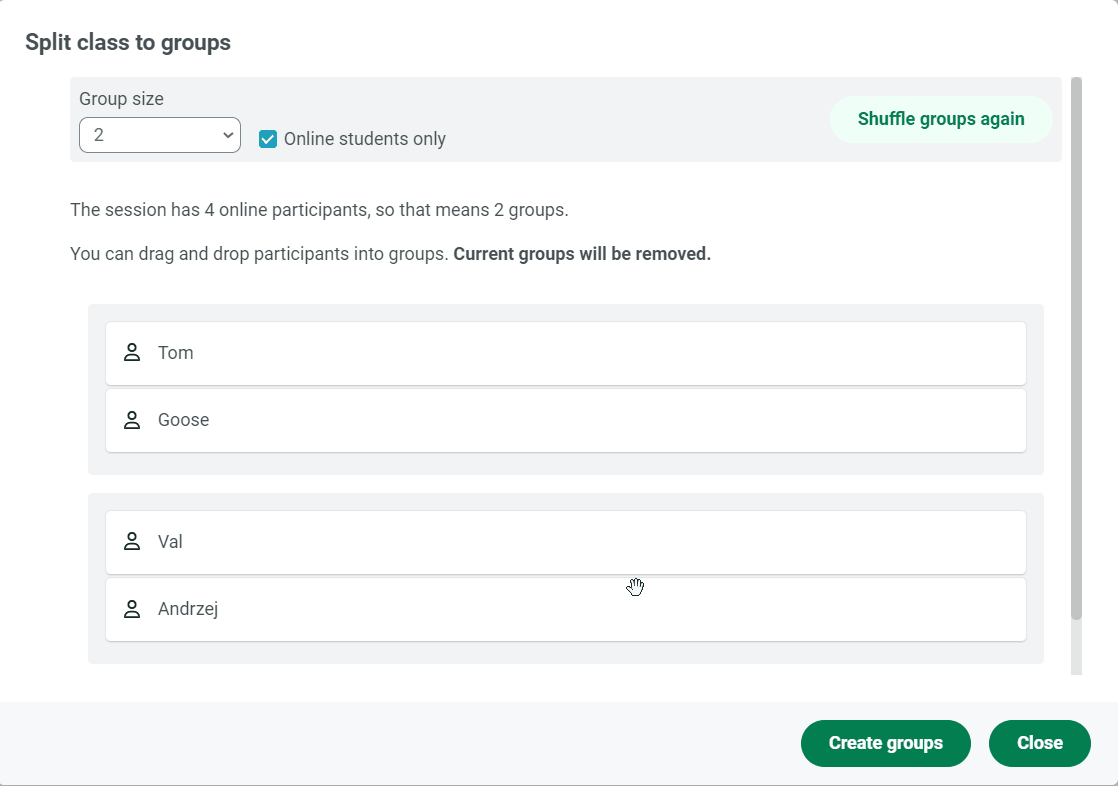
After clicking on the Split button, you can choose the group size and composition. You can either manually move the students around by dragging and dropping, or let the system shuffle the groups.
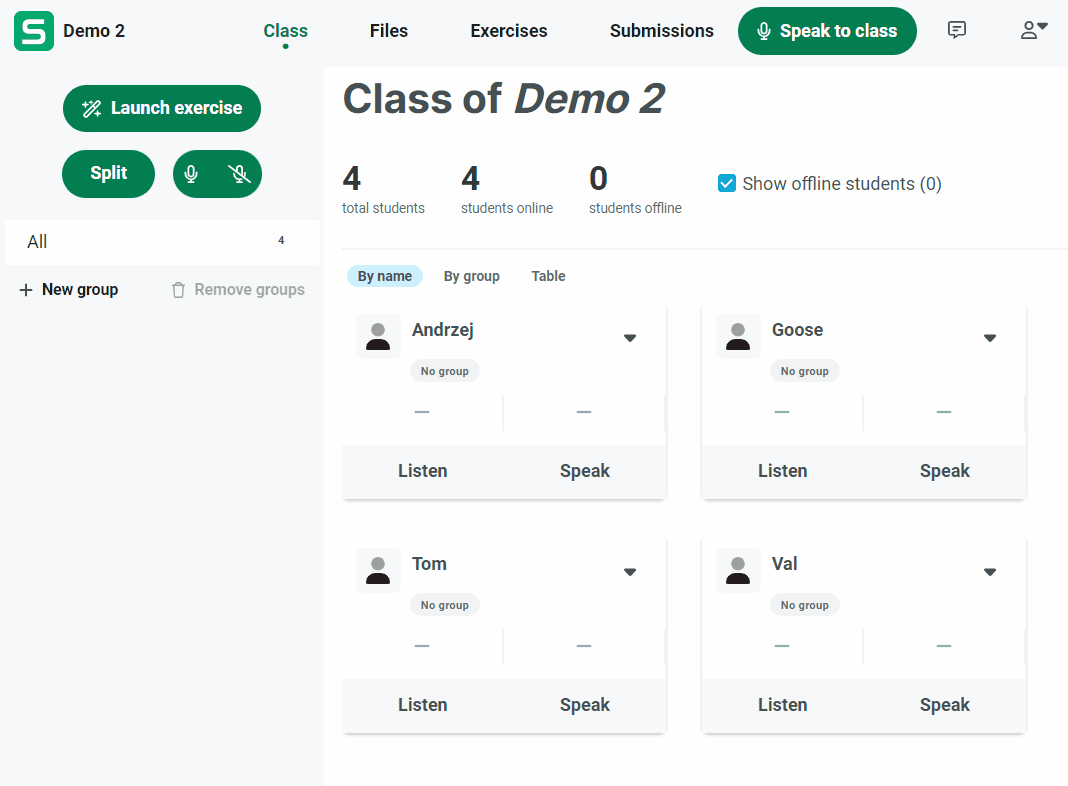
Creating the groups manually
You can create as many groups as are needed by clicking on the + New group button, and assign the students into these groups by clicking on the arrow inside a student card, and choosing Move to as below:
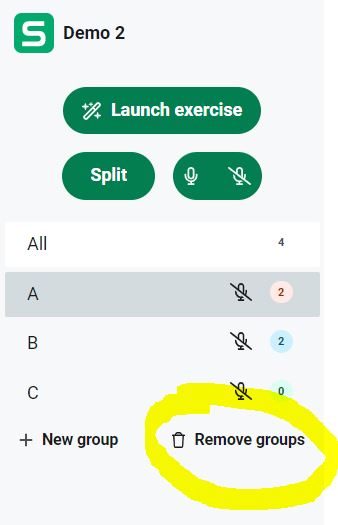
Removing all groups
You can remove all groups at once by clicking on Remove groups: