After creating your account and logging in, you will be taken to the session dashboard.

This is where you will be creating sessions. These sessions are the online teaching and learning space your students will connect to. You can create as many sessions as you need, but we suggest creating at least one session for each student group you teach. Doing so will make it easier to manage their recordings and written responses later on.
Creating sessions
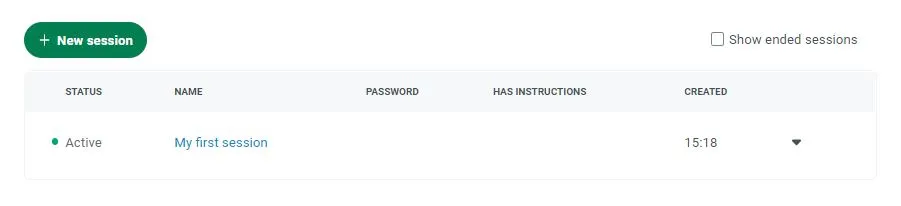
Start by clicking on the green + New session button.
New sessionNext, you will see this view:
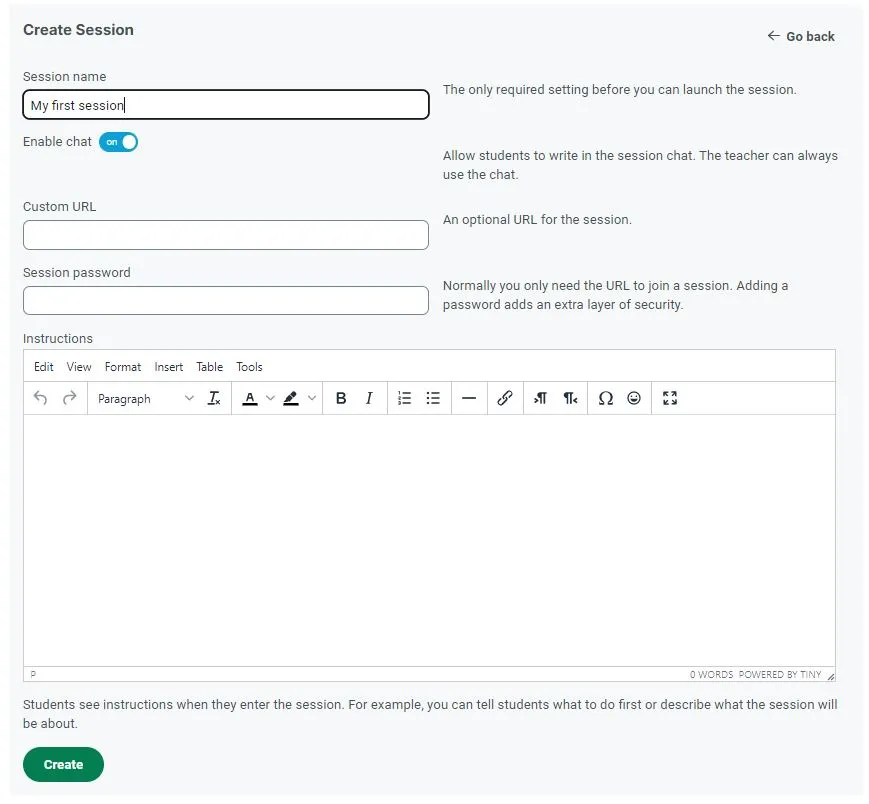
In the Session name field, enter a name for the session. This name will be displayed to students when they join this session. Click on Create at the bottom of the page.
CreateYou will be taken back to the session dashboard, and the session in visible in the list:
Entering a session as a teacher
In the session list, click on the arrow on the right side of your session as below:
Clicking on the arrow brings up a menu:
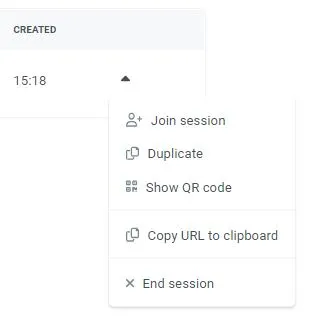
Join session – allows you to enter this session as a teacher
Duplicate – creates a copy of this session with all the exercises and files included
Show QR code – displays a QR code for this particular session. More on QR code later in ‘Inviting students to a session’ section of this help site.
Copy URL to clipboard – Copies the session URL to your clipboard. More on this in ‘Inviting students to a session’ section of this help site.
Click on Join session to enter this session. You will see a welcome message:

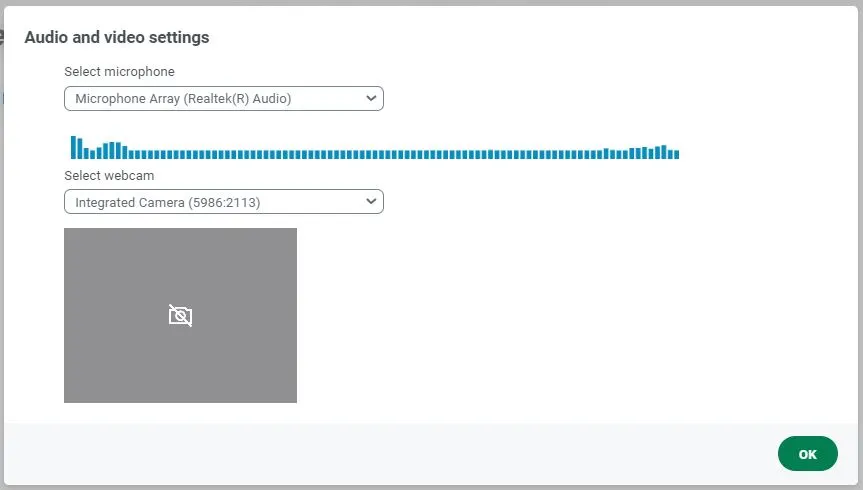
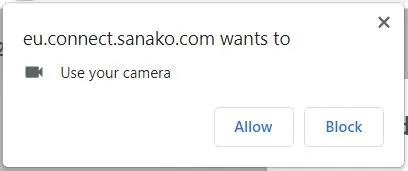
Microphone and webcam settings
When you enter a session for the first time, you will be prompted for permissions to use your microphone and webcam. It is important to allow these permissions for the recording and streaming functions to work properly. Click on Allow for both notifications.

Microphone permissions
Next, you will see a microphone and webcam test page. Check the selections to make sure you are using the correct microphone and webcam and click on the green OK button to continue.