Web Browsing Activities
How to launch the same Web page to all students
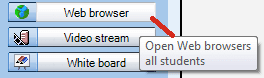
Click the Web browser icon and the teacher browser window will appear as shown below – Internet Explorer will launch at all the student positions.
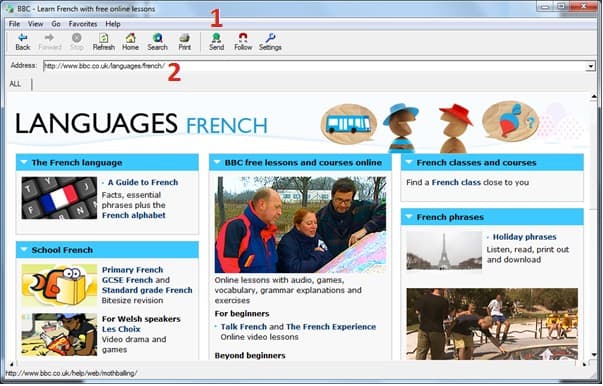
1. Click the Send icon
2. Browse to the Web page you want to send
You can also keep students looking at the same Web page as you by choosing the Follow icon shown below.
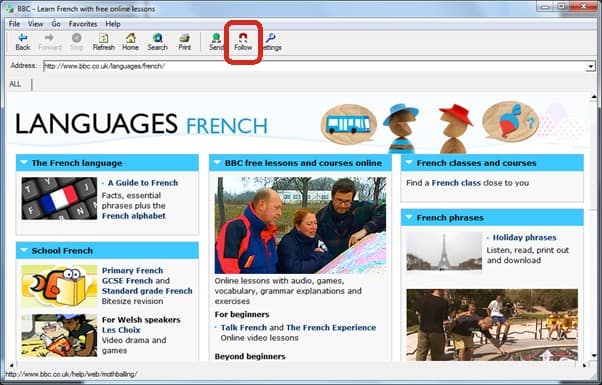
Once the Follow icon has been clicked then the students will go to exactly the same page as you do! When you click on a new page or hyperlink your students will follow.
Click the follow icon again to leave your students on that web page and free to browse.
Tips: Click the Favorites option from the top menu bar and it will display all your usual bookmarks from Internet Explorer. Select the required bookmark to save time browsing.
An alternative method is to simply copy a saved Internet Explorer bookmark and paste it to the Playlist window – students can then double click on the link to open that Web page.
How to restrict the Web pages that students can browse to
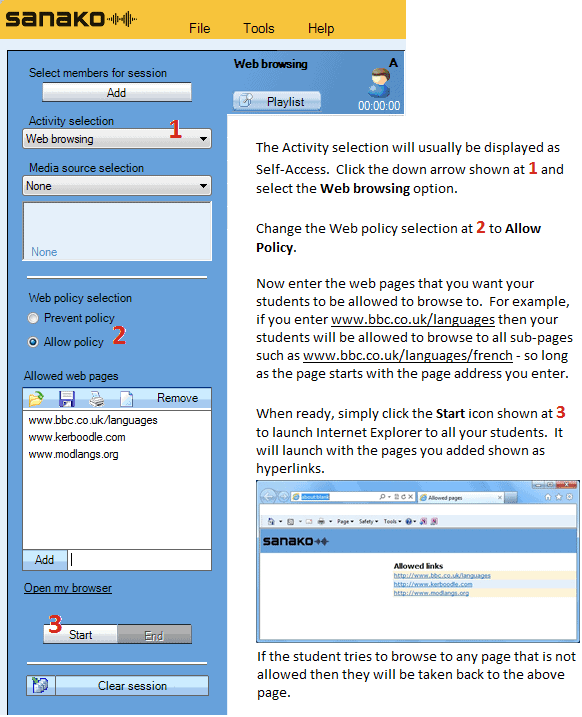
Tips: Make sure that you add ALL the sites that link from the main web page you want to allow students to browse. For example, if you allow students to go to http://www.bbc.co.uk then if they click on a news link they will be taken to http://news.bbc.co.uk – hence you would also have to add the http://news.bbc.co.uk page to your allowed list.
You can save the list as a .RUL (Rule) file to a location of your choice so you can use it on another time.
How to disable Internet access
1. Click the PC control icon
2. Select the Disable internet option from the drop-down menu.
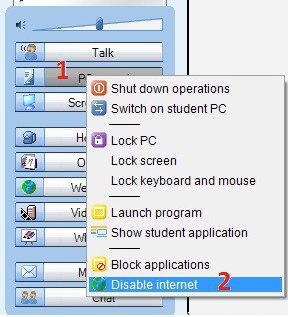
Your students will no longer be able to browse the Internet.
Hold your mouse over any student icon to verify that internet access has been disabled.
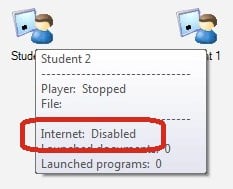
To give your students Internet access back simply repeat steps 1 and 2 above. If you close the Tutor application or log off, shut down, restart then Internet access is restored.
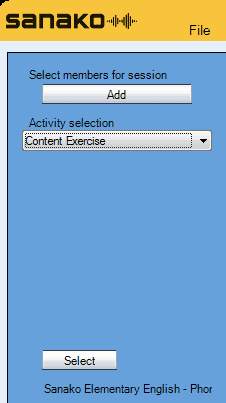
Content Exercise Activity
The Content exercise activity is used together with either ready-made or custom content provided by Sanako.
The activity allows you to launch content files directly to students. This will open an exercise window on the student players where they will be able to access the learning material, complete any exercises within and use the player to listen and record.
To launch a content file to students, select the Content Exercise activity and click Select and then browse for the file.
The file is opened in an exercise window next to the student players, but they are not yet able to use any functions in the file.
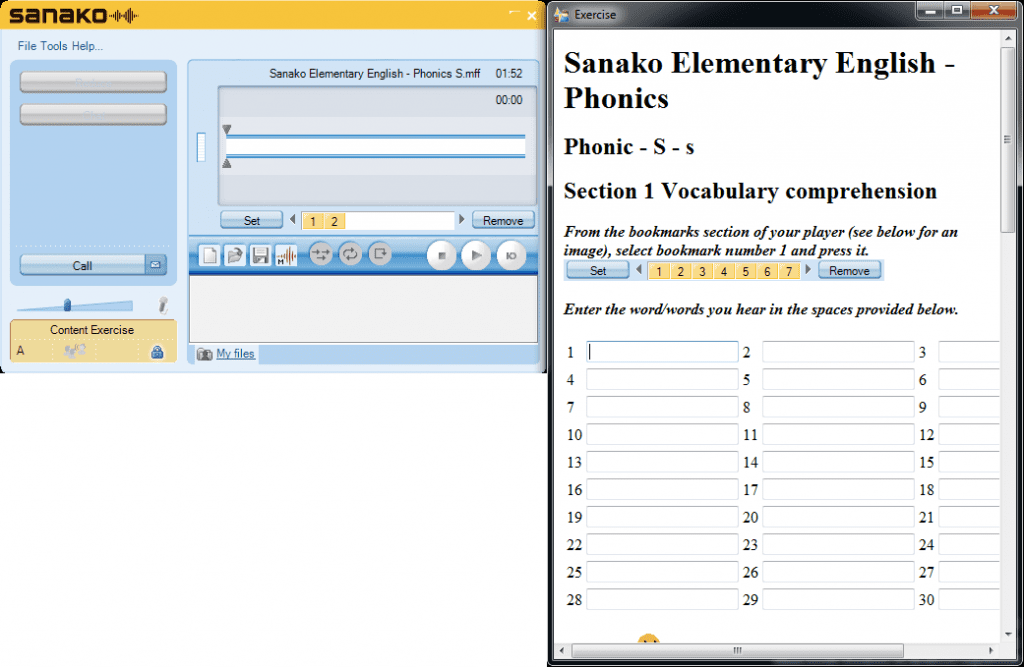
After the file has been selected, click Start. Students are now able to access audio functions and can complete any exercises within the material.
Using text-to-speech as part of an activity
After selecting an activity in the Activity selection menu, Listening Comprehension in our example, select the Text-to-Speech (TTS) option from the Media source selection menu.
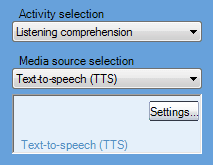
This will result in the Text-to-Speech window appearing below.
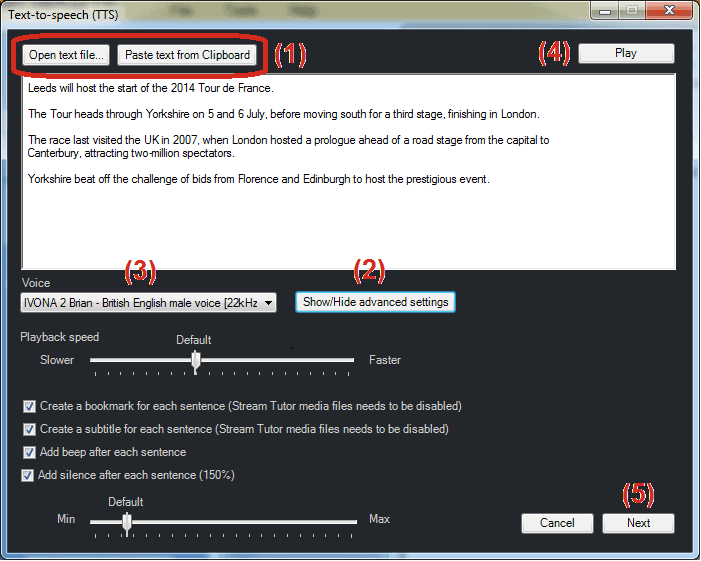
(1) Open a saved .TXT file or copy and paste text to the main window, for example from a Web page
(2) Click to show the advanced settings
(3) Select the appropriate Sanako Voice from the drop-down list. Only the voices that you have purchased and installed will be shown.
(4) Click Play to hear the audio
(5) Click Next when you are happy to continue. Save the MFF audio file to where you want and wait a bit for the audio has been encoded. After a short period you will then be able to start begin playing the TTS audio to your students.
Tips: You can also create a Text-to-Speech audio from a text file by opening it normally from the File menu in the Tutor Player (not the Tutor software!). The only difference is that the file is not launched to the students so you will need to add it to the playlist before or during the lesson.
Vocabulary Testing
1. Select the Vocabulary test option from the Activity selection drop-down menu.
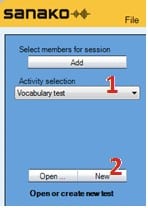
2. Click New to create a new test or click Open… to open a ready-made test. You will then see the Vocabulary test creator window below.
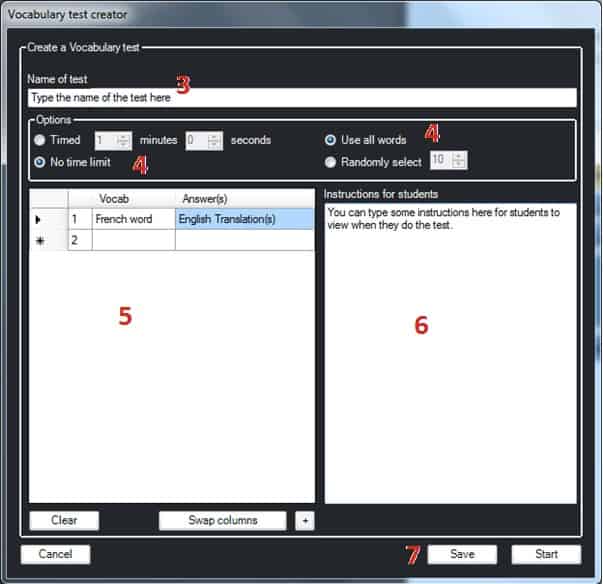
3. Give your test a name
4. Is the test timed or not? Do you want to use all words?
5. Enter/Modify your list of words and their translation(s)
6. Add instructions, tips or hints?
7. Save your test if it’s a newly created one or Start it right away if you’re launching a ready-made test.
Tips: If you want to allow multiple answers then separate each answer with a comma – see below for an example.
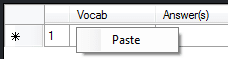
You can copy and paste existing vocab lists from Excel – simply select the columns from Excel and Copy. If you then right click on the top left box of the vocabulary test creator you can select the paste option as shown here.